How to create a marketing automation with AWeber
Do you want to create a marketing automation with AWeber? Then you are in the right place!

With AWeber’s automation tool, you can set up an email series that will be sent out automatically when someone takes a predefined action or meets a certain condition.
But creating a marketing automation can be an intimidating thought, so we created this tutorial to guide you on how to create your first marketing automation with AWeber.
Let’s get into it!

How to set up an automation
1. Click Automation and go to Campaigns.

2. Click the Create Campaign button.

3. Browse through templates and choose a template close to what you want to create. If you don’t find any, select Blank Campaign to build one from scratch.


How to build and activate an automation
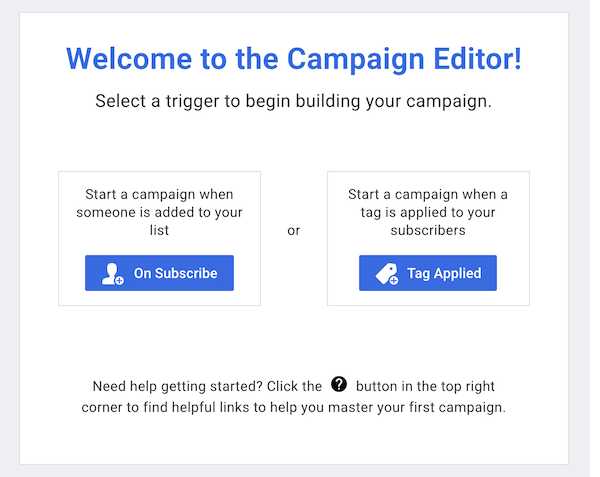
1. Choose a trigger. A trigger is an action that kicks off the automation.
2. Add filters to the trigger on the right-hand sidebar to get specific about who can join the workflow.

3. Drag and drop actions from the left-hand sidebar to the workflow.

4. Customize the settings on the right-hand sidebar for the selected action.

5. Once you are done building your workflow, click Save and Exit.

6. When you are ready to activate the automation, click the Activate button.

That was it, we hope you found this tutorial helpful and learned how to create a marketing automation with AWeber.
Related posts


Is AWeber the right choice for you?